Change a basin mixer cartridge
Follow this installation guide steps by steps or play the video to watch the installation.
Preparation
![](http://cdn.cloud.grohe.com/Web/local_assets_4_3/service/fr_fr/02_install_single_lever_basin_mixer/4_3/960/02_install_single_lever_basin_mixer_4_3.jpg)
If major work is done on the home, the water network must be flushed of all impurities to avoid damaging your mixer.
![](http://cdn.cloud.grohe.com/Web/local_assets_4_3/service/en/change-the-faucet-cartridge-4_4_3/4_3/960/change-the-faucet-cartridge-4_4_3_4_3.jpg)
Before changing the mixer cartridge shut off both water supplies and open the mixer to release pressure and empty residual water.
Accessing the cartridge
![](http://cdn.cloud.grohe.com/Web/local_assets_4_3/service/en/change-the-faucet-cartridge-5_4_3/4_3/960/change-the-faucet-cartridge-5_4_3_4_3.jpg)
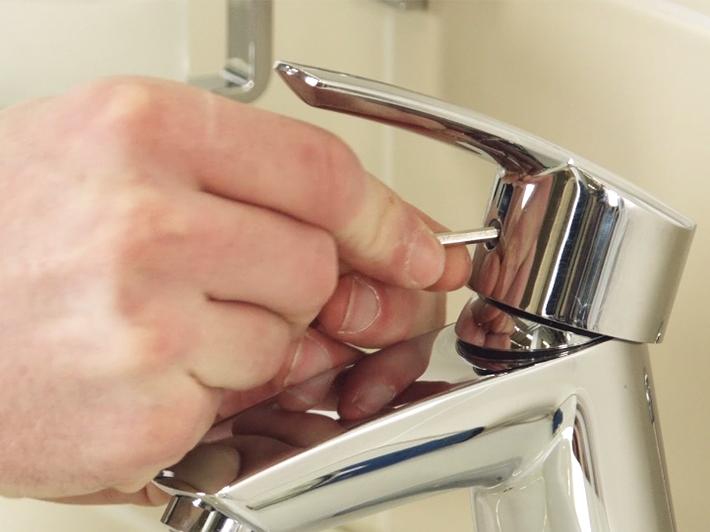
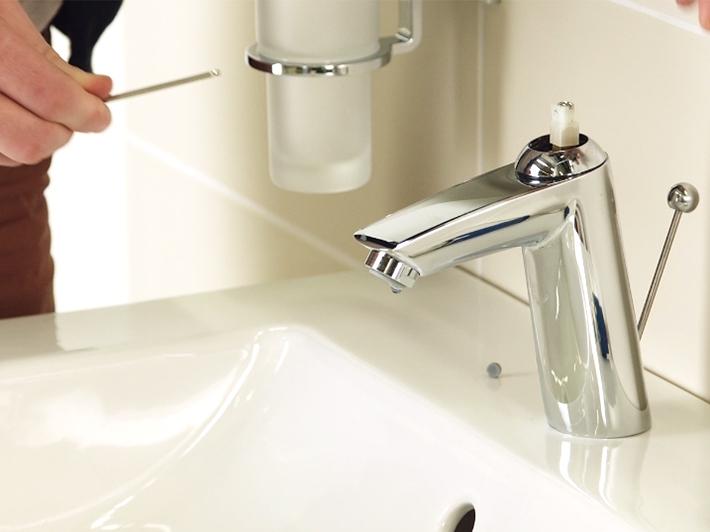
1 - Using a flat-head screwdriver, remove the plastic cover, then remove the screw with a 3 mm Allen key.
![](http://cdn.cloud.grohe.com/Web/local_assets_4_3/service/en/change-the-faucet-cartridge-6_4_3/4_3/960/change-the-faucet-cartridge-6_4_3_4_3.jpg)
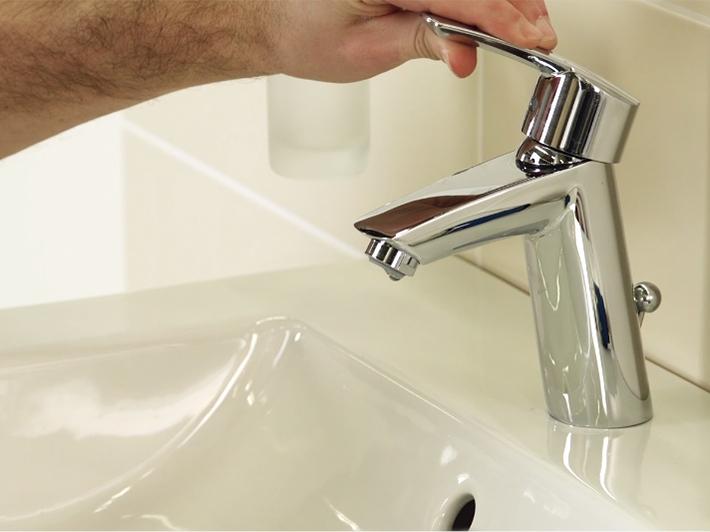
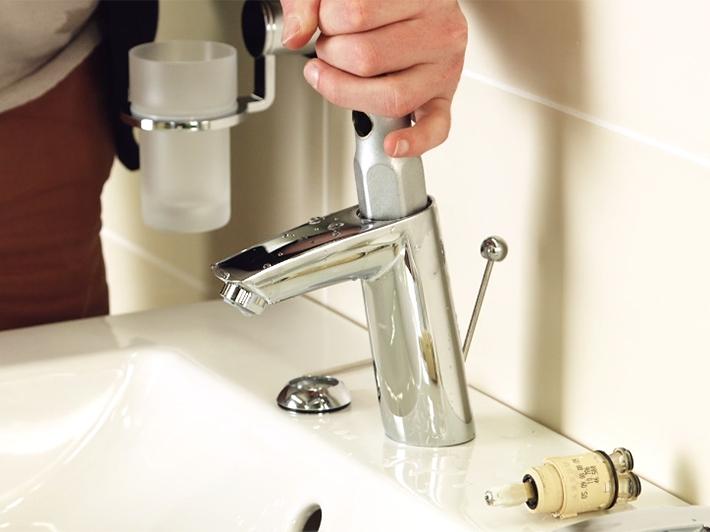
2 - Dismantle the lever by pulling upwards, then remove the cap.
![](http://cdn.cloud.grohe.com/Web/local_assets_4_3/service/en/change-the-faucet-cartridge-7_4_3/4_3/960/change-the-faucet-cartridge-7_4_3_4_3.jpg)
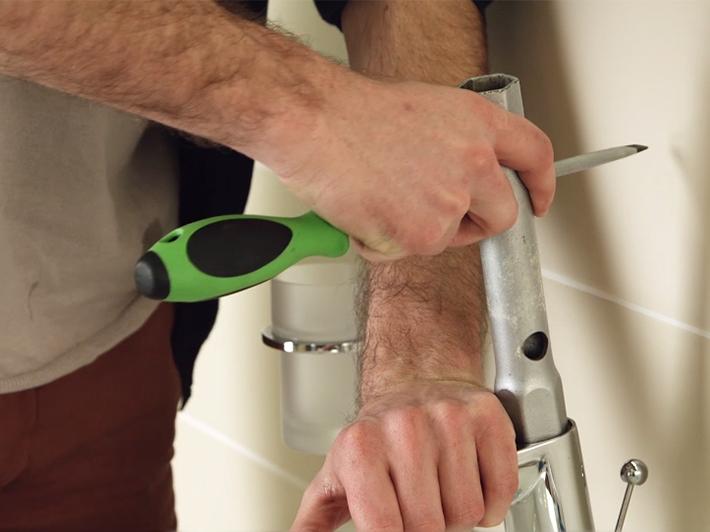
3 - Unscrew the nut with a large, 32 mm socket wrench and pull the cartridge firmly towards yourself. If necessary, replace the lever to make this easier.
![](http://cdn.cloud.grohe.com/Web/local_assets_4_3/service/en/change-the-faucet-cartridge-8_4_3/4_3/960/change-the-faucet-cartridge-8_4_3_4_3.jpg)
4 - Make sure there are no seals or foreign objects in the mixer body.
![](http://cdn.cloud.grohe.com/Web/local_assets_4_3/service/en/change-the-faucet-cartridge-9_4_3/4_3/960/change-the-faucet-cartridge-9_4_3_4_3.jpg)
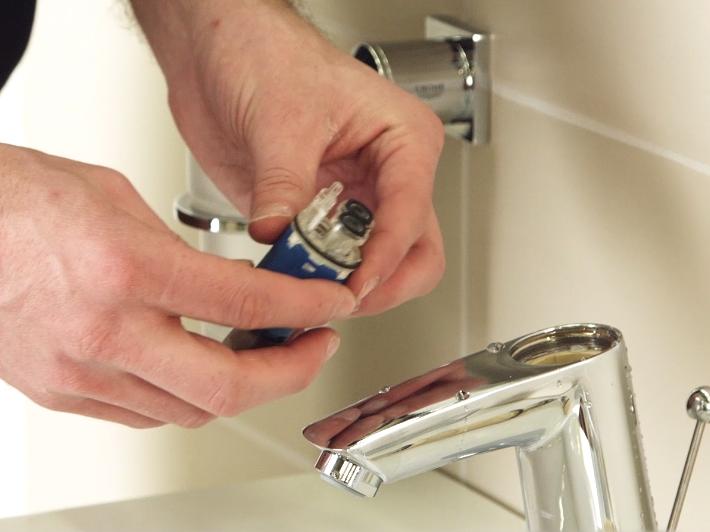
5 - Then install the new cartridge into the mixer body, positioning the two tabs on the cartridge into place.
![](http://cdn.cloud.grohe.com/Web/local_assets_4_3/service/en/change-the-faucet-cartridge-10_4_3/4_3/960/change-the-faucet-cartridge-10_4_3_4_3.jpg)
6 - Screw the large nut back with moderate pressure using the 32 mm socket wrench. Replace the cap.
![](http://cdn.cloud.grohe.com/Web/local_assets_4_3/service/en/change-the-faucet-cartridge-11_4_3/4_3/960/change-the-faucet-cartridge-11_4_3_4_3.jpg)
7 - Replace the lever and tighten the screw with the hex key.Finally refit the plastic cover.
Turning on water
![](http://cdn.cloud.grohe.com/Web/local_assets_4_3/service/en/change-the-faucet-cartridge-12_4_3/4_3/960/change-the-faucet-cartridge-12_4_3_4_3.jpg)
1 - Open the hot and cold water supplies
![](http://cdn.cloud.grohe.com/Web/local_assets_4_3/service/en/change-the-faucet-cartridge-13_4_3/4_3/960/change-the-faucet-cartridge-13_4_3_4_3.jpg)
2 - Make sure the mixer is operating properly.
![](http://cdn.cloud.grohe.com/Web/local_assets_4_3/service/fr_fr/final_4_3/4_3/960/final_4_3_4_3.jpg)
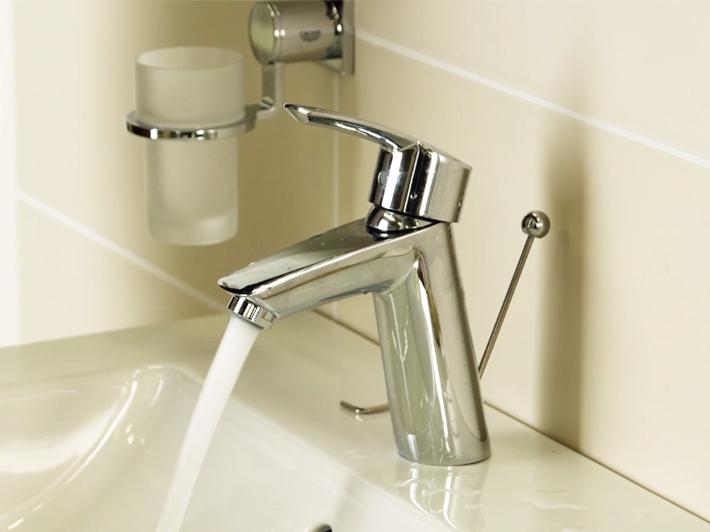
Congratulations, you have finished installing your new GROHE product.
Check our other installation guides and discover all of our products on grohe.com/uk.